Confusion is prominent in the first couple days. The carpenters are learning new methods from Ravi, the engineer construction supervisor from Miyamoto. He is giving instructions at two sites, and in his absence at one site assumptions are made and the resulting mistakes have to be undone and then redone. The bumps created by the confusion waste some time, but we work through them.
Once the foundation has been raised to ground level, the next element of earthquake resistance is installed. It involves cutting, bending, and fabricating a rebar “ladder”. Two long 12mm “side” pieces of the rebar ladder are joined with smaller 7mm pieces of rebar “rungs” to be embedded in a four inch layer of concrete.
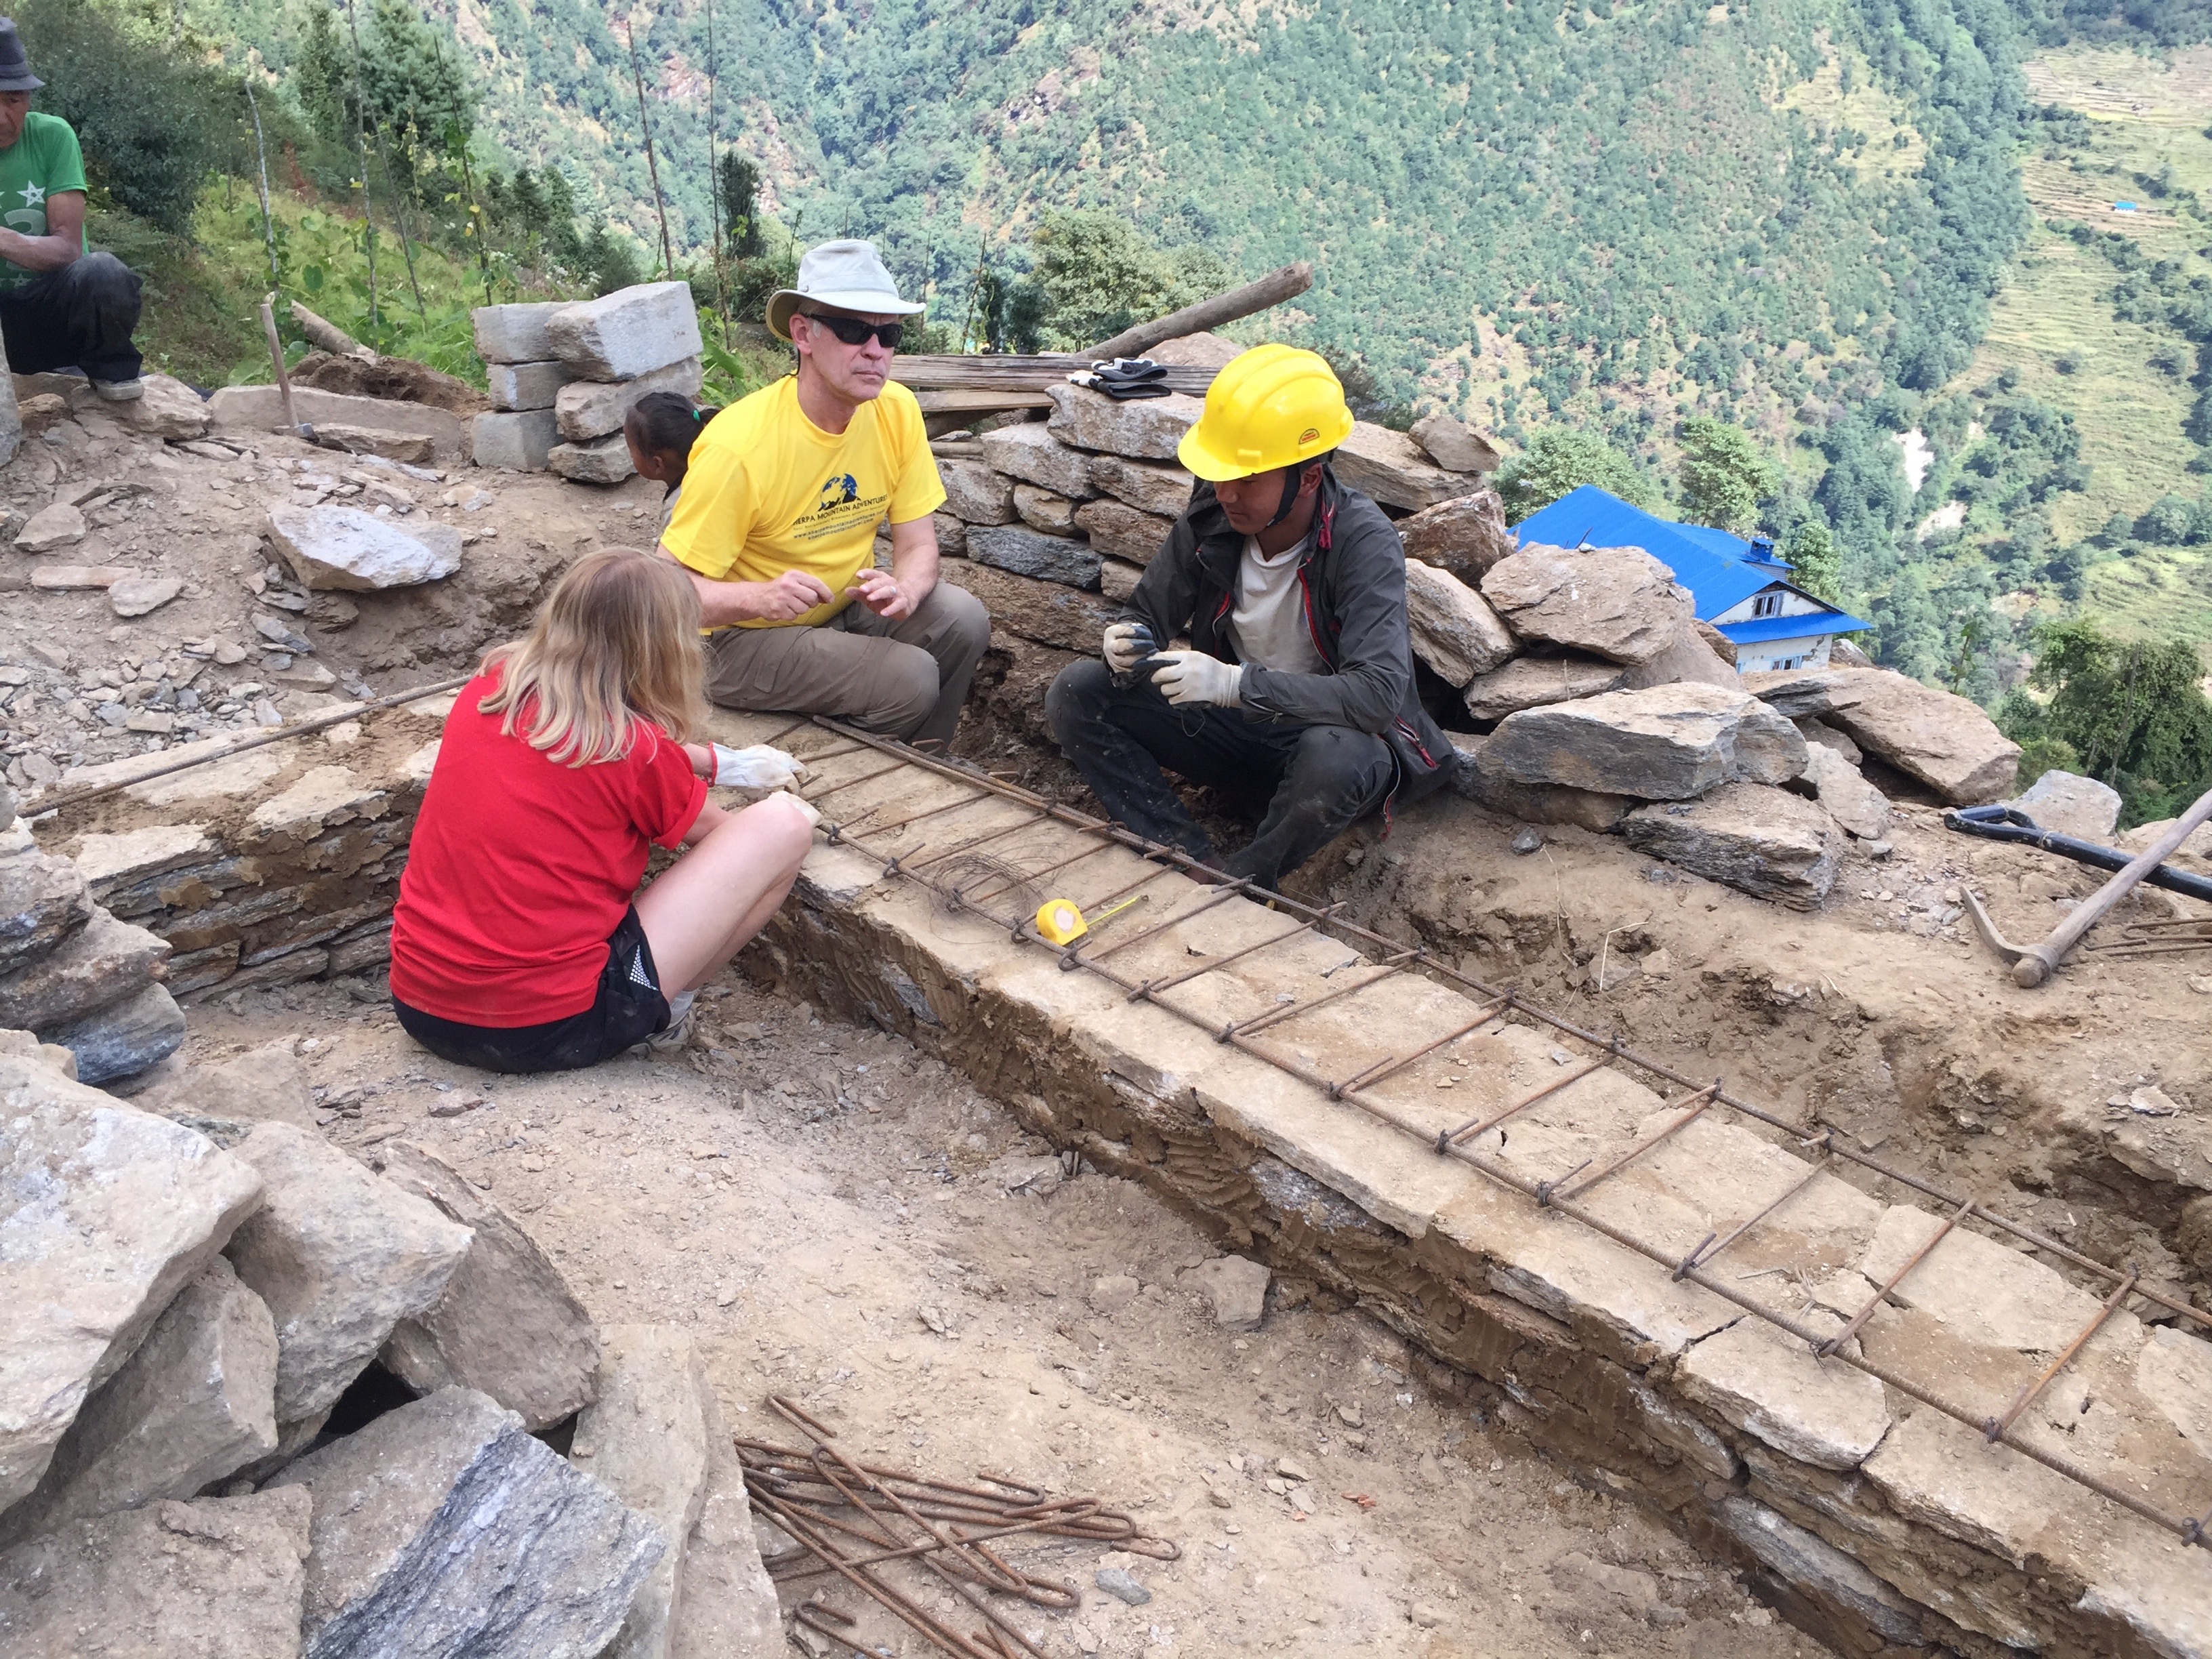
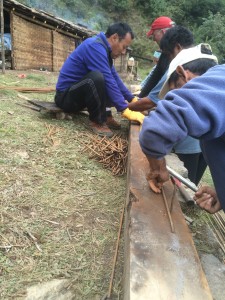
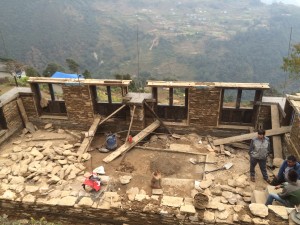
In traditional Sherpa style of construction, the walls are two courses of rock, one outside and one inside. Two larger pieces of rebar are laid out about an inch from the edges of that double thick 24” wall. Those pieces of rebar bend around the corners of the foundation, making an entire loop around the house. The sides of this ladder are then joined together with small diameter rebar “rungs” which we cut and bend into shape using a makeshift jig created onsite. The rungs are spaced about six inches apart and tied to the larger rebar sides with galvanized wire which we twist into place.
The rebar ladder wraps the entire perimeter of the foundation and before the concrete is added, we placed chips of rock under the joints where the smaller rebar is tied to the larger. These rock chips lift the rebar ladder reinforcement off the foundation. When concrete is added, the chips will cause the ladder to be suspended within the bed of concrete. Finally, vertical large bore rebar is bent at one end, which is then laced into the horizontal rebar ladder at each corner of the house.

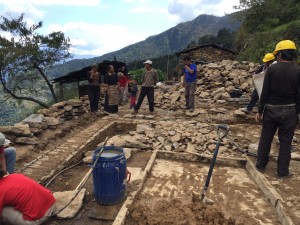
The carpenters take boards from the stockpile of the house’s lumber and use them to create a form on both sides of the foundation to hold the 4” layer of concrete in place once it is poured.
Bags of cement and sand are mixed together on a pallet of flat stones laid out on the ground. To that mix aggregate made from larger stones crushed into smaller ones is added. Then comes water. Our most industrious volunteers, including Mike, Michael, and Doug, join forces with the carpenters to do the mixing. It’s hard, difficult work—without a doubt the hardest work on the site.
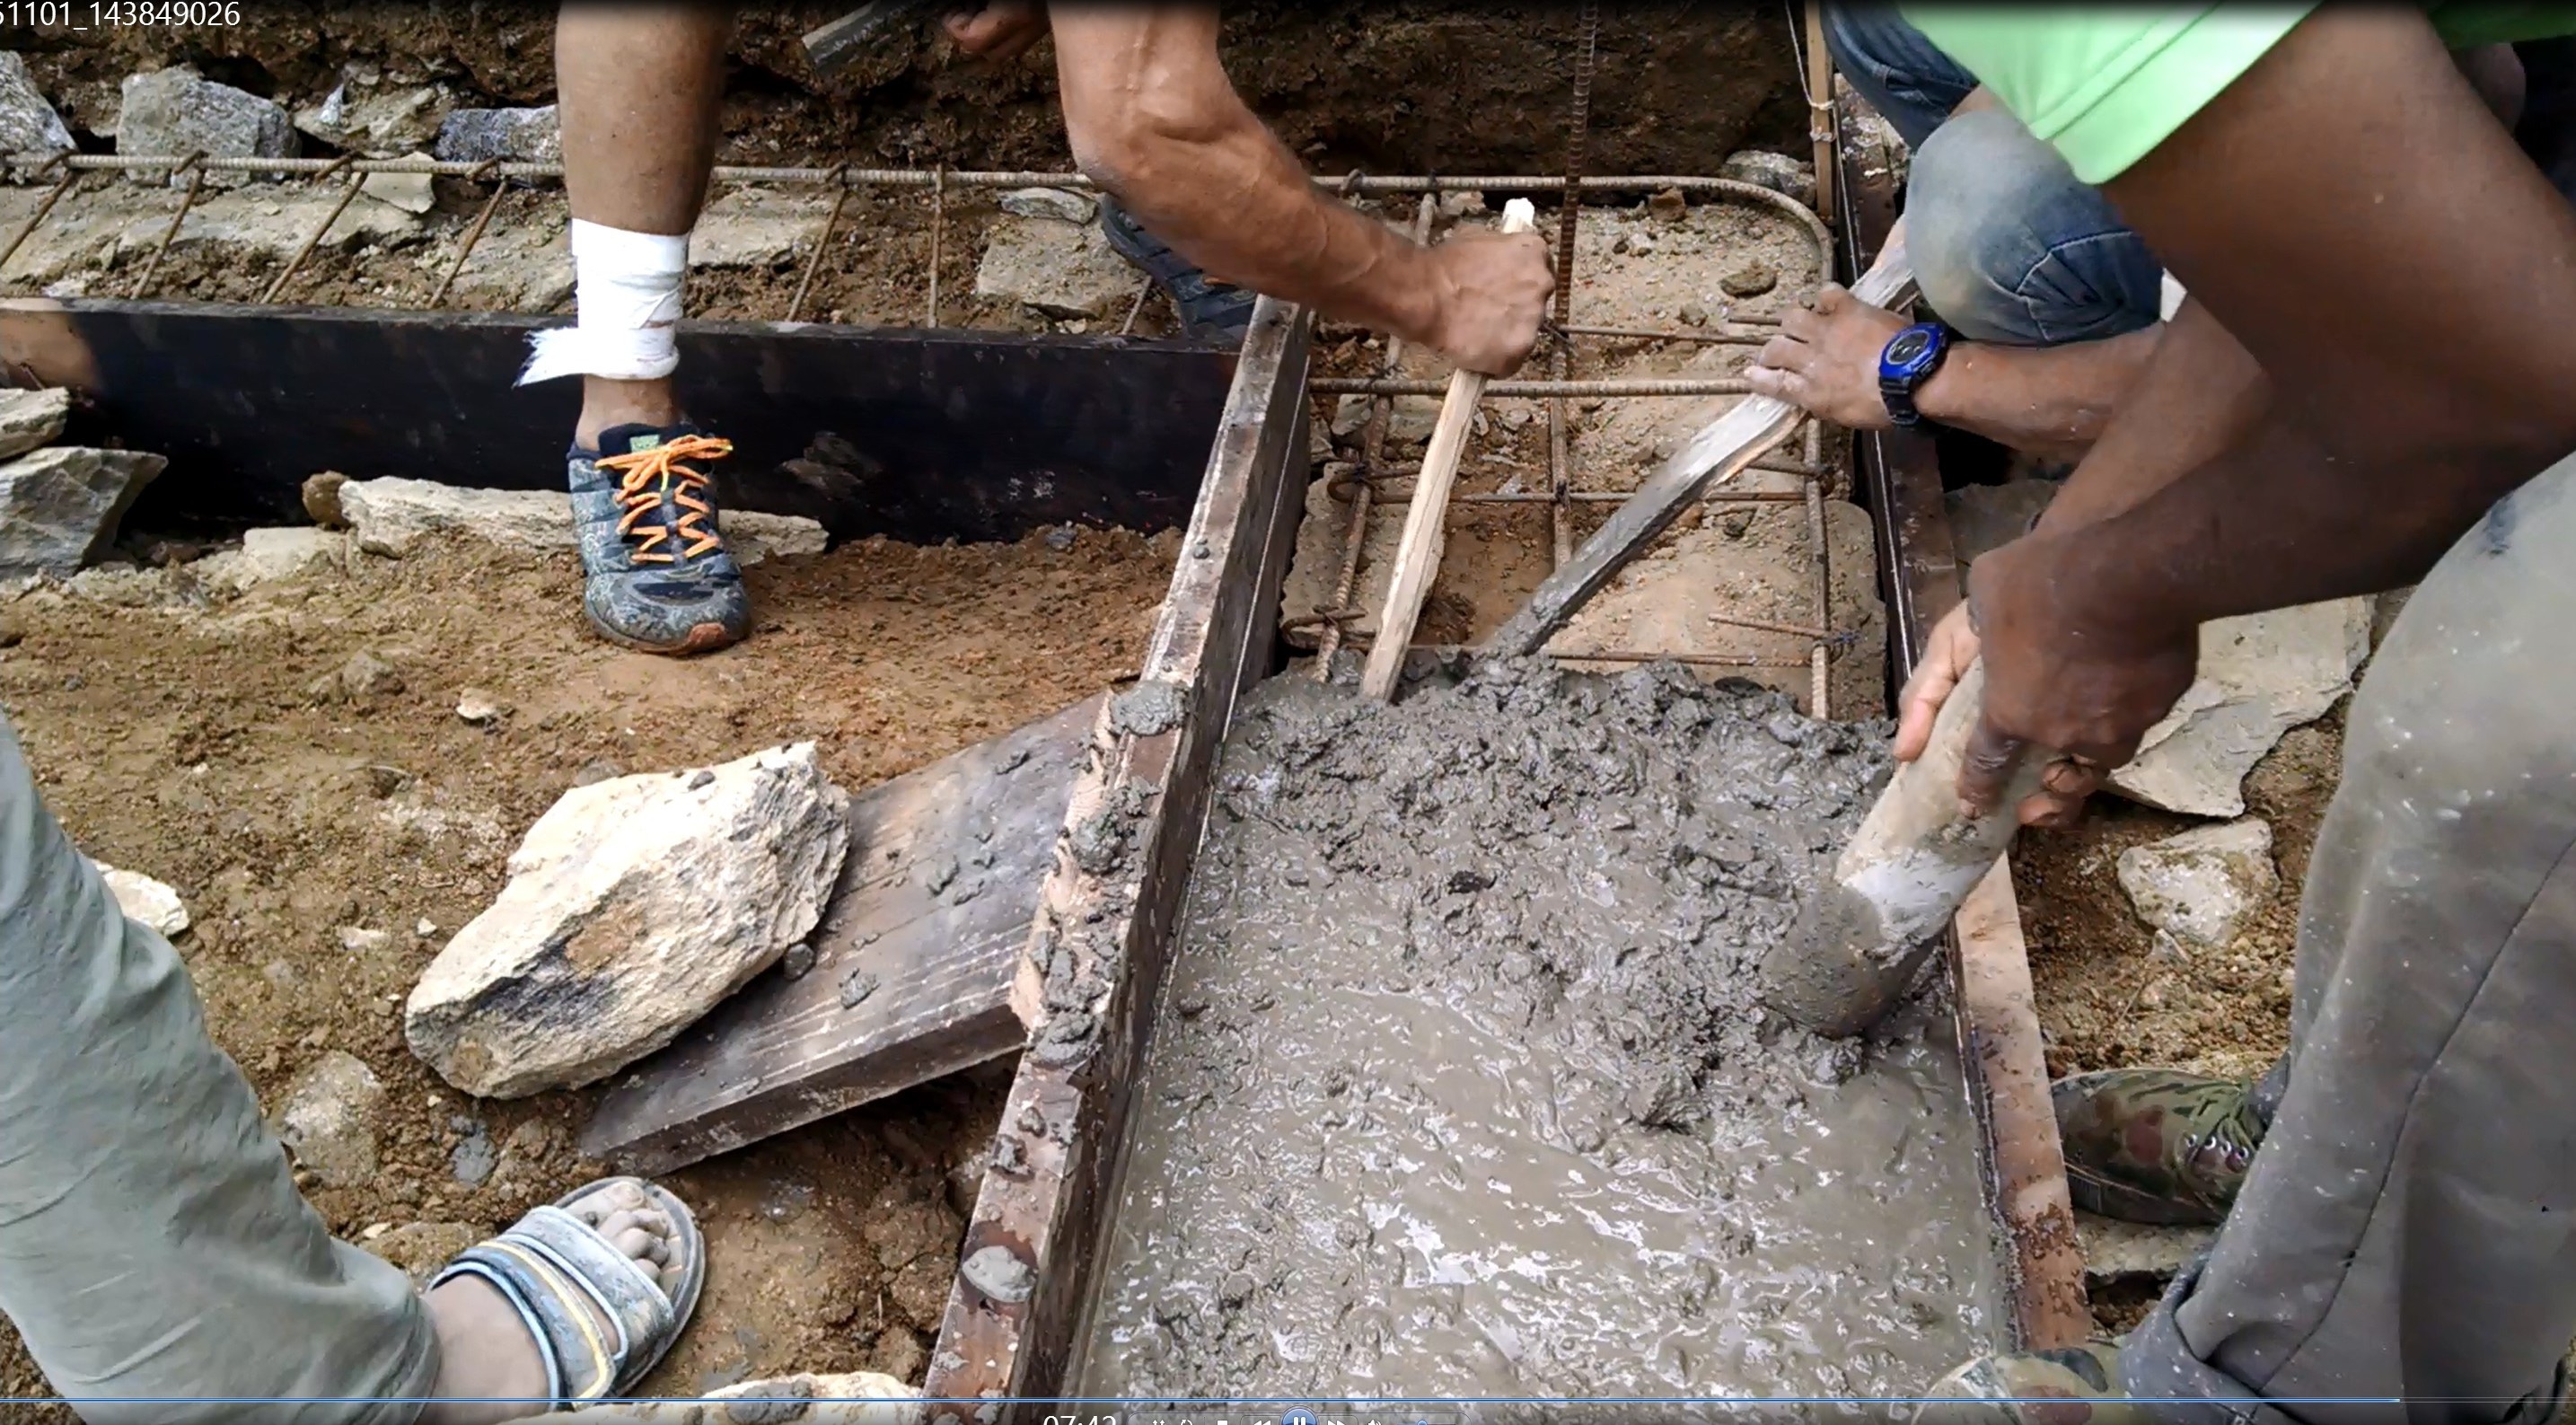
Once the concrete is mixed, the fun begins. We form a “bucket brigade” to transfer the concrete from the mixing site into the forms. The concrete mixers put a shovel full of concrete into a metal pan the size and shape of a large wok which is then passed from person to person in the brigade until it arrives at the spot for pouring. Once poured at that delivery point two carpenters work to make sure the mix is evenly distributed and then smoothed at the top.
The brigade is ended with a cheer we all send up. Then more batches of concrete are mixed with each delivered until an entire band of concrete with embedded rebar ladder finds its way around the perimeter of the house. Similar bands will be installed at the tops of the door and windows of the first floor, then again between the first and second floors, and then at the roof line of this one and half story house.
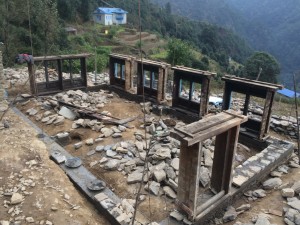
By the end of Trek #1 the foundation concrete bands have been completed and the carpenters have laid the door and windows in place on both houses. When volunteers from Trek #2 arrive the schedule calls for both houses to be complete up to the roof line. Thereafter, if all goes according to plan, six houses will be rebuilt by the end of Trek #3, with the final two to be finished by the carpenters in early January.
And, as stated before, we need more donations to make this happen.